Godaddy.com:
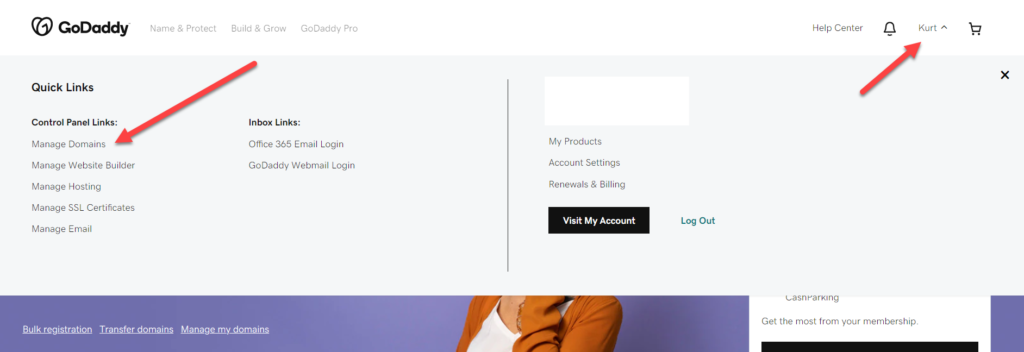
Login to your Godaddy account and click on your account name in the upper right hand corner. This will bring up a drop down tab and you can then click on Manage Domains:
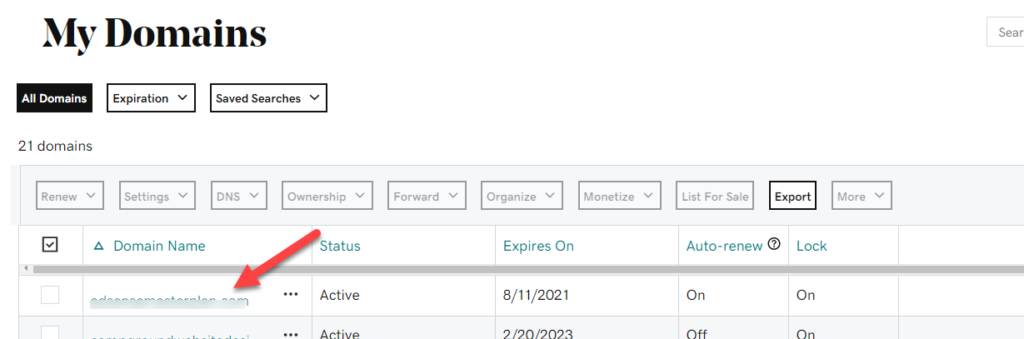
Click on the domain name you would like to update:
Scroll down to Manage DNS:
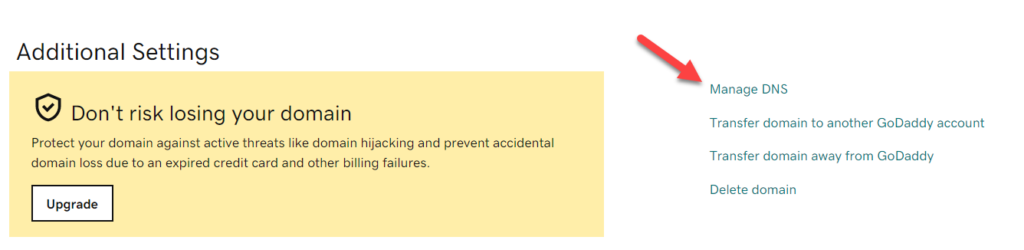
After you click on Manage DNS, you will then see the option to change your Nameservers:
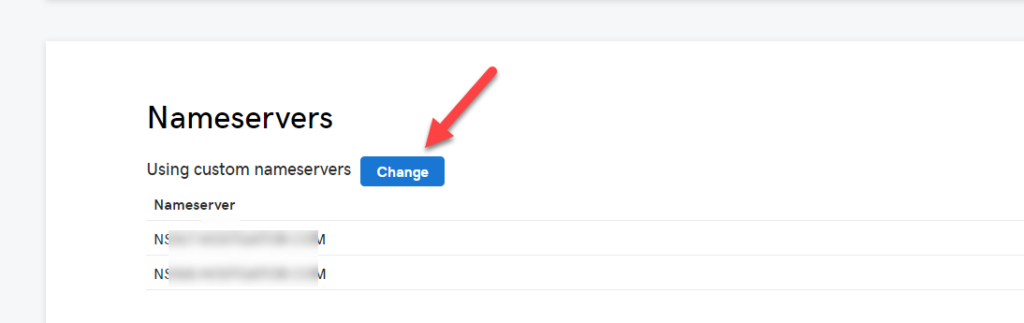
Click on the Change button and enter in the new nameservers on the following screen:
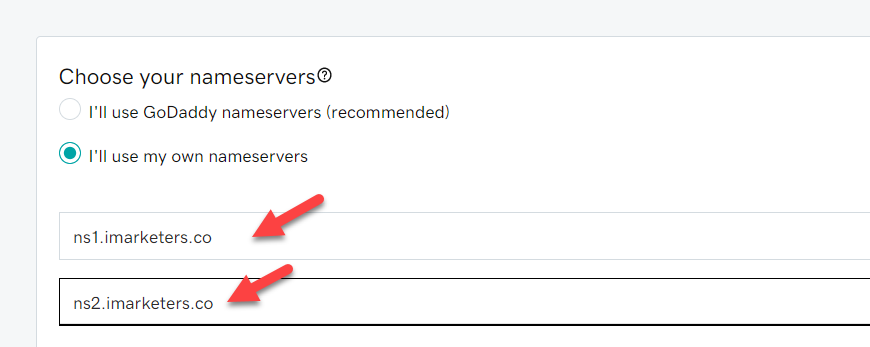
After they are entered in as shown above, click Save.
It can take up to 24 hours for the change to take effect.
Namecheap.com:
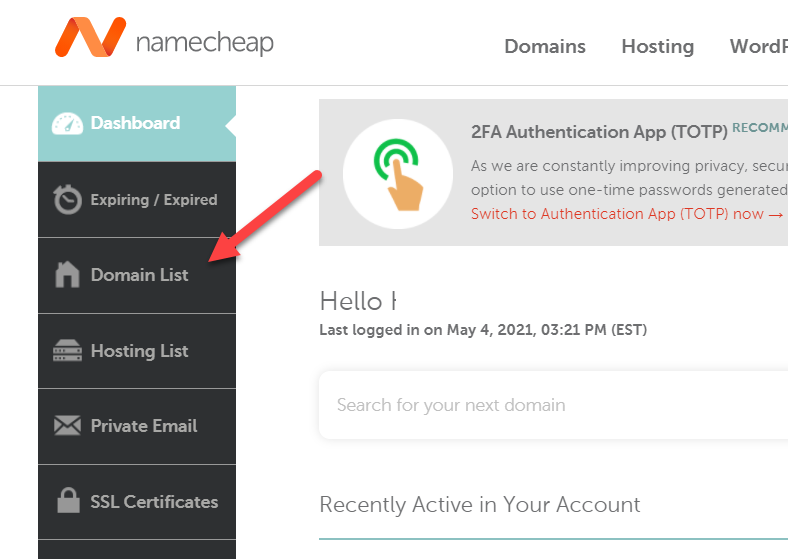
Login to your Namecheap account and click on Domain List:
Find the domain you would like to update and click the Manage button:

Scroll down to the Nameservers section and choose Custom DNS:

Enter in the new Nameservers as shown below and make sure to click the green check mark to save them:

It can take up to 24 hours for the change to take effect.