Follow the steps below to easily secure your domain using the free Cloudflare SSL.
Step 1: Create your free Cloudflare account here
Step 2: After your account is created, insert your domain name and click Continue

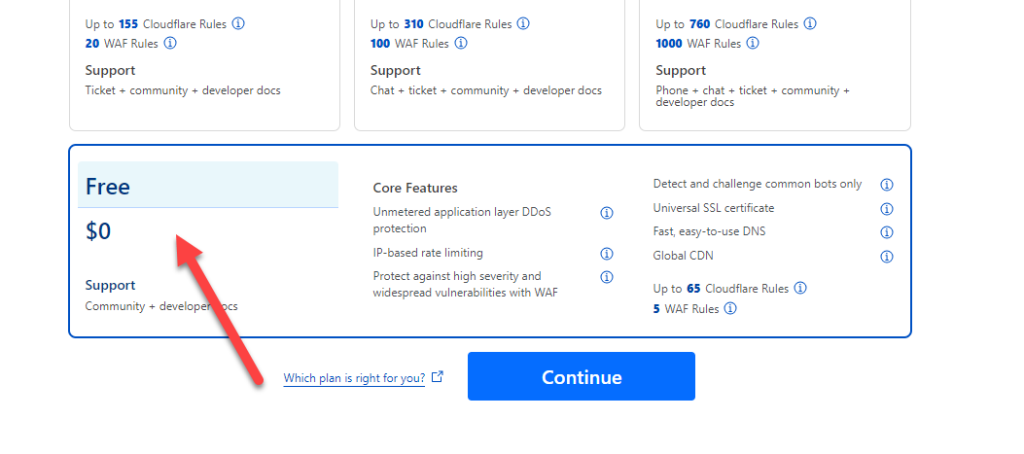
Step 3: Once you enter in your site URL, choose the Free option at the bottom:
Step 4: Click on the domain that you just added

Step 5: Copy the nameservers that Cloudflare has provided and update your nameservers at your domain registrar.
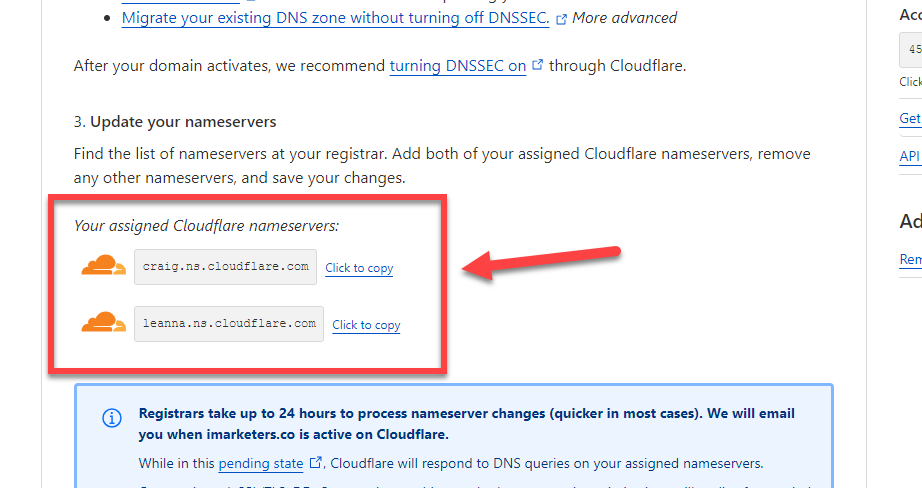
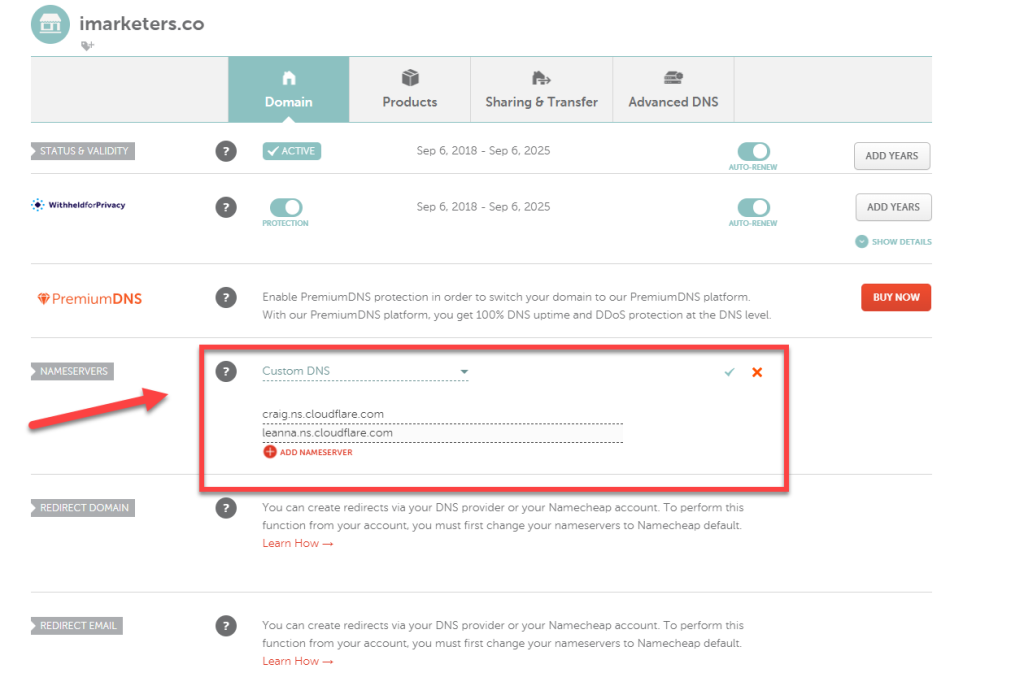
Step 6: In your domain registrar account (example: Godaddy or Namecheap), update your nameservers with the new Cloudflare nameservers. These can take several hours to take effect. Once Cloudflare recognizes that they have been updated, move on to the next step.
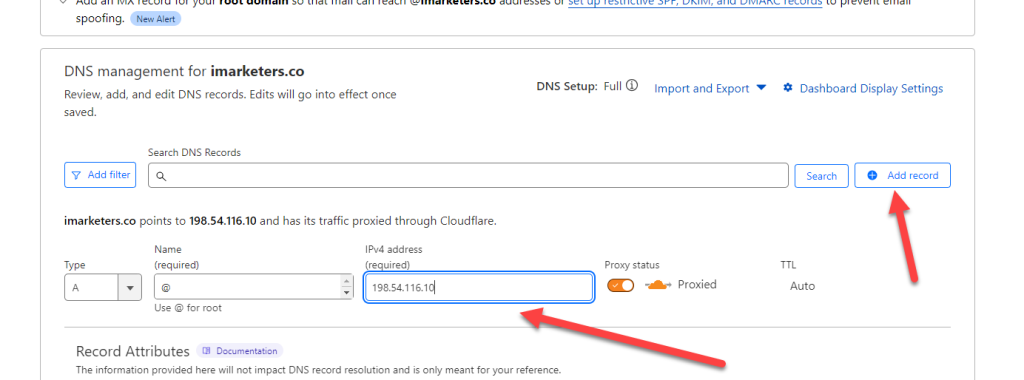
Step 7: This step is optional and not always needed. Click on the DNS link inside your Cloudflare account
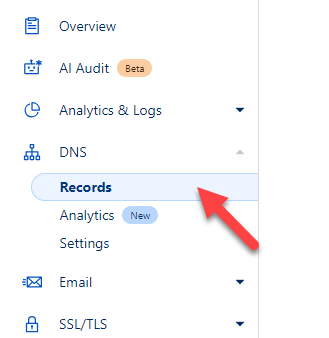
Add a new A record with your hosting IP address. This can be found inside your cpanel account
Step 8: Login to your WordPress site and click on Plugins >> Add New and then Install and Activate the Really Simple Security plugin.
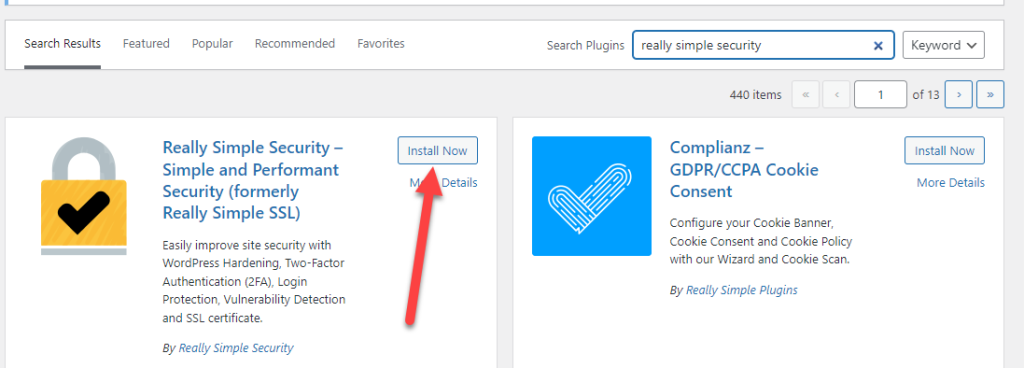
Once you have it activated, Enable SSL and you are all set.